If you're a fan of all things natural and want to add a touch of nature to your accessories, then this article is perfect for you. You'll be surprised and delighted at how easy it is to create beautiful accessories inspired by nature that are unique and sure to make a fashion statement. With these easy-to-follow DIY tutorials, you'll learn how to turn ordinary objects from nature into stunning accessories.
From leaves and twigs to birch bark, agate, stones, and shells, this article covers a wide range of nature-inspired accessories that you can make right at home. Each tutorial is designed to be easy to follow, so you don't need any prior experience or special skills. Just some basic crafting supplies, a little bit of creativity, and you're good to go.
Whether you're looking to elevate your hairstyles with trendy feather hair clips and headbands or add some sparkle to your hair with chic gemstone hair pins, you'll find something to suit your style. Turn twigs into a stylish and eco-friendly bracelet or transform stones into a statement necklace. Or, if you prefer something a little more whimsical, create an adorable mushroom ring.
With these natural DIY accessories, you can add your own personal touch to your wardrobe. So, get ready to be inspired by nature and let your creativity run wild. Check out these tutorials and get started on creating beautiful and unique accessories that will make a fashion statement wherever you go.
Leaf-Inspired Earrings
Are you looking to add a touch of nature to your accessories collection? These DIY leaf-inspired earrings are just what you need! Not only are they easy to make, but they also make a bold fashion statement.
To get started, gather some leaves from your backyard or local park. Look for leaves that are firm and have distinct veins. Clean them thoroughly and spray them with clear acrylic spray to preserve their shape and color.
Next, prepare your materials. You will need jewelry wire, pliers, earring hooks, and small beads in colors that complement your leaves. Cut the wire to your desired length and attach the earring hook at the top. Thread the beads onto the wire, leaving space for the leaf to hang at the bottom.
Finally, attach the leaf to the wire using your pliers. Gently wrap the wire around the stem of the leaf and secure it in place. Repeat the process for the other earring. Voila! Your leaf-inspired earrings are ready to wear.
Experiment with different leaf shapes and colors to create a unique set of earrings for any occasion. These versatile earrings go great with casual or dressy outfits and are sure to turn heads no matter where you go. So why not bring some nature into your fashion with these easy-to-make leaf-inspired earrings?
Twig Bracelet
Looking for an easy and unique way to accessorize your outfits? Look no further than the twig bracelet! With just a few simple materials and a little creativity, you can turn ordinary twigs into a chic and eco-friendly accessory.
To start, gather about a dozen or so small twigs of similar size and length. You can use any type of twig, but thinner ones will be easier to work with. Next, soak the twigs in water for a few hours to make them more pliable.
Once your twigs are soaked, gently bend them into a circle shape, making sure to overlap the ends slightly. Secure the ends together using a small piece of wire or twine. This will be the base of your bracelet.
Now it's time to add some embellishments! You can use a variety of materials to decorate the bracelet, such as beads, feathers, or even small flowers. Simply attach them to the twigs using glue or wire.
Once you're happy with the look of your bracelet, let it dry completely before wearing. This unique accessory is sure to turn heads and spark conversations about your love for nature and DIY projects.
Overall, the twig bracelet is a fun and easy way to add a touch of nature to your wardrobe. Not only is it stylish and unique, but it's also environmentally friendly. So why not give it a try and see what kind of beautiful creations you can come up with!
Birch Bark Necklace
If you're looking for a unique and beautiful necklace that is inspired by nature, then this DIY tutorial on creating a birch bark necklace is perfect for you. Birch trees are known for their distinctive bark, which is often used to create decorative items like baskets, toys, and even jewelry. You can easily create your own stunning birch bark necklace by following these simple steps.
First, gather the materials you'll need for this project. You'll need birch bark, beads, fishing line, and a needle. You can find birch bark in the wild or purchase it at craft stores. Next, cut the birch bark into strips and soak them in warm water to soften them. Once the bark is pliable, use the needle and fishing line to thread beads onto the bark strips.
Continue adding beads to the birch bark strips until you achieve your desired length. Then, tie the ends of the strips together to create a loop. You can also add a clasp to make the necklace more secure. Finally, trim any excess bark from the necklace and you're ready to wear your stunning and one-of-a-kind birch bark necklace.
This necklace is perfect for nature lovers who want to add a touch of rustic charm to their outfit. It's also a great DIY project that you can do with friends or family. Give it a try and enjoy the beautiful and natural beauty of a birch bark necklace!
Mushroom Ring
If you want to add some fun to your accessories, then this mushroom ring DIY tutorial is perfect for you. This quirky ring will add a touch of whimsy to any outfit, and it's surprisingly easy to make.
To get started, you'll need air-dry clay, a ring base, and some paint. Begin by shaping the clay into a mushroom cap and stem. You can use a toothpick or other tool to add texture to the cap and mimic the look of gills. Once you're happy with the shape, let the clay dry according to the manufacturer's instructions.
Next, paint the mushroom cap and stem in your desired colors. You can also add details like white spots or patterns to give your mushroom ring a unique look. Once the paint has dried, attach the mushroom to the ring base using a strong adhesive like superglue.
Now you have a one-of-a-kind mushroom ring that you can wear with pride. This DIY project is a great way to show off your creativity and love for nature. Plus, it makes for a great conversation starter!
In conclusion, this adorable mushroom ring is an easy DIY project that adds a touch of whimsy to your look. With just a few simple materials, you can create a unique and fun accessory that's perfect for any nature lover. So why not give it a try and see what kind of mushroom magic you can come up with?
Agate Pendant
Looking for a unique accessory? Make a beautiful and natural agate pendant with this easy DIY tutorial. Agate is a beautiful gemstone that comes in a variety of colors, making it a great choice for creating accessories that match any outfit. Here's what you'll need to make your own agate pendant:
Materials:- Agate slice- Thick jewelry wire- Wire cutters- Pliers- Jump ring- Necklace chain
Instructions:1. Cut a piece of jewelry wire to the desired length for your pendant. Make sure it is long enough to wrap around the agate slice a few times.2. Use pliers to bend the wire into a U-shape, leaving a long tail on one end.3. Slide the agate slice onto the wire so that it rests in the U-shaped part of the wire.4. Bring the wire ends around the agate slice and twist them together, using pliers to make sure the wire is tight and secure.5. Use pliers to shape the wire into a loop at the top of the pendant. This will be where the jump ring will go.6. Cut off any excess wire using wire cutters.7. Attach the jump ring to the loop at the top of the pendant using pliers.8. Thread the necklace chain through the jump ring and your agate pendant is ready to wear!
This simple DIY tutorial is a great way to create a unique and beautiful accessory that will show off your natural style. You can easily mix and match different agate slices and wire colors to create a range of different looks. So why not give it a try and make your own agate pendant today!
Feather Hair Accessories
Feather hair accessories are a fashion trend that has been around for a while, and for good reason. Not only do they add a unique touch to any hairstyle, but they're also incredibly versatile, with endless designs and colors to choose from. Whether you prefer a simple and elegant look or something more bold and playful, feather hair clips and headbands can elevate any hairstyle.
To create your own feather hair accessories, you can start by gathering some basic supplies. You'll need feathers in various sizes and colors, as well as some clips or headbands to attach them to. You may also want to add some beads, wire, or other embellishments to give your accessories a little extra pizzazz.
For feather hair clips, simply attach your feathers to a clip using some wire, thread, or glue. You can arrange the feathers in a simple, symmetrical design or go for something more wild and asymmetrical. You can use one or multiple feathers, depending on the look you're going for.
For feather headbands, start by attaching your feathers to a base, such as a ribbon or piece of elastic. You can arrange the feathers in a similar way as with the hair clips, or you can create a more intricate design by layering different feathers and adding embellishments.
One of the great things about feather hair accessories is that they're so versatile. You can wear them with a casual boho outfit or dress them up for a fancy occasion. They also work well with a wide variety of hairstyles, from a simple ponytail to an intricate updo.
So why not try making your own feather hair accessories and see how they can elevate your hairstyle? With a little creativity and some basic supplies, you can create unique and beautiful accessories that are perfect for any occasion.
Stone Necklace
If you're looking for a unique accessory to add to your collection, this DIY stone necklace is the perfect project for you! Not only is it easy to create, but it also incorporates natural elements for a beautiful and one-of-a-kind design. Follow these simple steps to turn stones into a statement necklace.
Materials needed:
- Stones of your choice
- Jewelry wire
- Jewelry clasp
- Needlenose pliers
Instructions:
- Select a variety of stones in different shapes and colors.
- Cut a length of jewelry wire to your desired necklace length, adding a few extra inches to allow for attaching the clasp.
- Using the needlenose pliers, create a loop at one end of the wire.
- Begin threading the stones onto the wire in the order you prefer. Try to alternate shapes and colors for added visual interest.
- Create another loop at the other end of the wire once you've added all your stones.
- Attach the jewelry clasp to the loops at either end of the wire.
- Your stone necklace is now complete and ready to wear!
This DIY stone necklace is the perfect way to incorporate natural elements into your wardrobe. It's a unique accessory that's sure to turn heads and make a statement. Plus, since it's handmade, you can be proud to show off your creativity and personal style.
Beachy Shell Earrings
If you love the beach and want to incorporate a little bit of it into your wardrobe, then these shell earrings are perfect for you. Not only are they easy to make, but they're also a fun accessory that can really elevate your outfit. To create these earrings, you'll need some shells, earring hooks, and pliers.
First, find two shells that are roughly the same size and shape. You can use any type of shell you like, but smaller ones tend to work best for earrings. Once you've found your shells, use the pliers to remove any excess parts or rough edges. You want the shells to be smooth and symmetrical.
Next, attach the earring hooks to the shells using the pliers. Open up the loop at the bottom of the hook and slip it through the small hole at the top of the shell. Then, use the pliers to close the loop back up. Make sure the hook is attached securely to the shell so that it doesn't fall off.
If you want to add a little bit of flair to your earrings, you can also add some beads or charms to the earring hooks. Simply slip them onto the hook before attaching it to the shell. You can coordinate the color of the beads with the color of the shell or go for a contrasting look.
And just like that, you have a fun and beachy accessory to wear all summer long. These shell earrings are perfect for a day at the beach or a night out with friends. They're also a great conversation starter and a way to show off your love for all things coastal. So grab some shells, get creative, and start making your own DIY beachy earrings today!
Gemstone Hair Pins
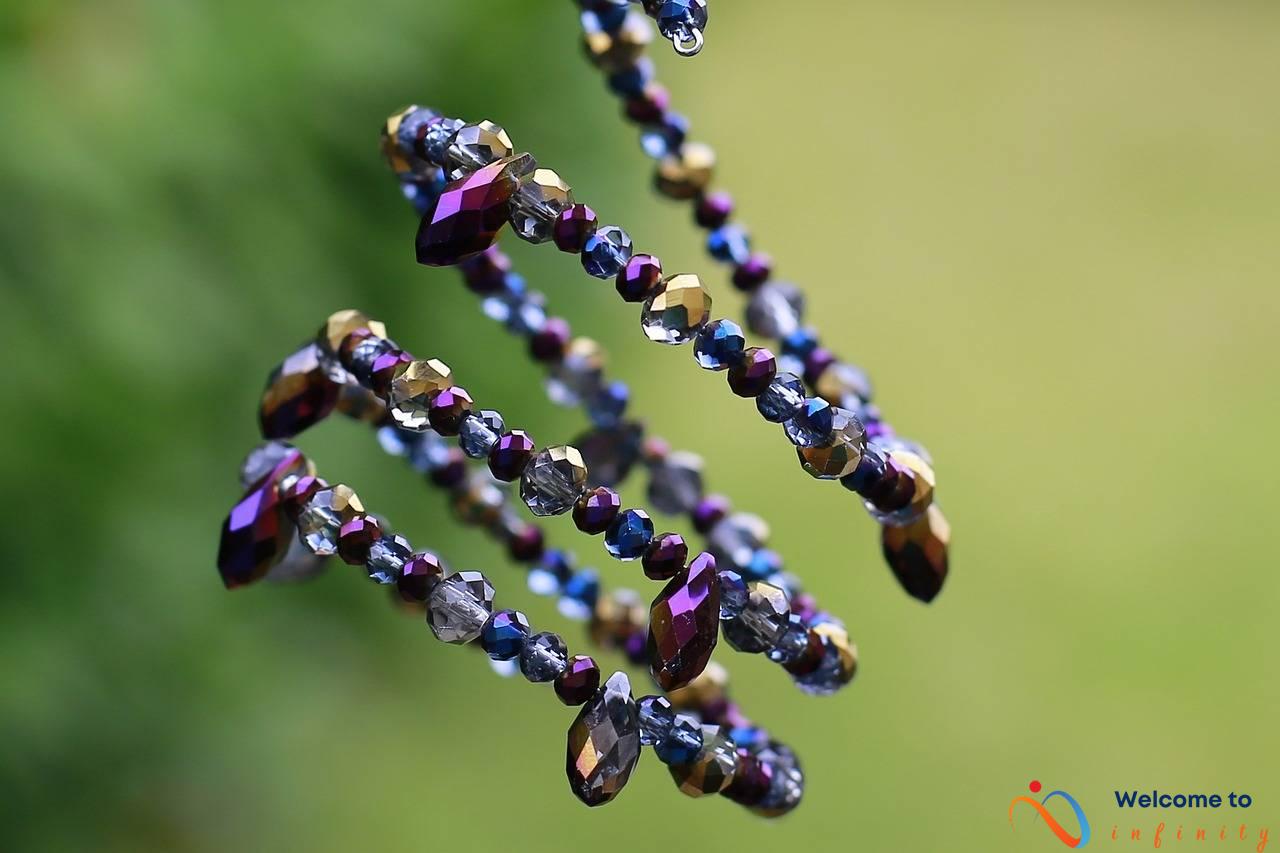
Add some bling to your hair with these easy to make gemstone hair pins. They are the perfect addition to your outfit for a special event or just to add some sparkle to your everyday look.
To make these hair pins, you will need some wire, gemstone beads, and hair pins. You can find these supplies at your local craft store or online.
Start by cutting a piece of wire to the desired length, and string on a few gemstone beads. Twirl the wire around the end of the hair pin, securing the beads in place. Make sure to leave a little bit of extra wire at the end for shaping.
Next, use pliers to bend the end of the wire into a loop or spiral shape. This will help keep the beads in place and add some extra style to the hair pin. Repeat this process with as many hair pins as you would like to make.
These gemstone hair pins are not only easy to make but can also be customized to fit your personal style. You can use different colored gemstones to match your outfit or mix and match for a unique look.
Whether you are dressing up for a fancy event or just want to add some sparkle to your everyday look, these gemstone hair pins are the perfect accessory to make a statement.


