Are you tired of your home décor but don't want to spend a fortune on an expensive remodel? Luckily, there are plenty of easy and budget-friendly ways to transform your living space with DIY home decorations.
first, consider upcycling old furniture to add unique pieces that bring character to your home. With a little creativity and paint or fabric, you can turn an old chair or dresser into a one-of-a-kind statement piece.
Another great DIY decoration idea is to create a gallery wall. Mix frames in different sizes and styles to showcase your favorite photos and artwork, or keep it simple with matching frames in a grid pattern. Follow our tips for creating a cohesive theme and hanging your gallery wall perfectly.
personalize your living space even further with handmade textile projects, whether you want to sew your own pillows and curtains or create a cozy quilt. Don't know how to sew? No problem! We have some no-sew textile project ideas to try.
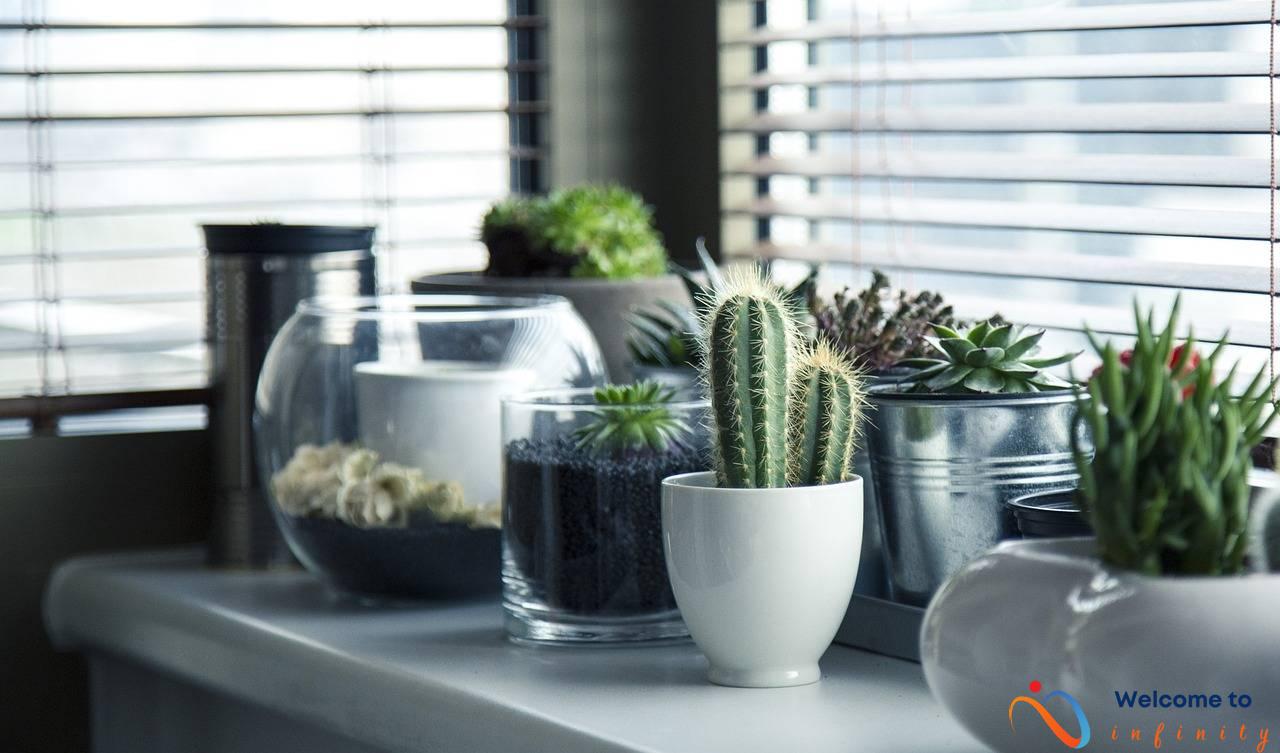
Bring some life to your home with plants and greenery. From low-maintenance succulents to lush ferns, there are plants to suit every skill level and style. Check out our tips for choosing the right plants and getting creative with your planters.
Lastly, make a statement with a bold accent wall. Whether you choose to paint, stencil, or use wallpaper, an accent wall can add drama and depth to any room. Learn how to choose the perfect wall and create your own DIY wallpaper or stenciled design.
1. Upcycled Furniture
Are you tired of your current furniture but can't afford to buy new ones? Upcycling is a creative and cost-effective solution that can add personality and charm to any living space. Instead of throwing out old furniture and contributing to the ever-growing landfills, upcycling involves repurposing old items and transforming them into something new and unique.
One popular way of upcycling furniture is by reupholstering chairs and sofas. This process involves replacing the old and worn-out upholstery with new fabric or even repurposing materials like vintage curtains or old quilts. With so many fabric options available, you can give your furniture a completely different look that fits with your personal style.
Another way to upcycle furniture is by painting it. You can change the look of any piece of furniture by giving it a fresh coat of paint. Whether you want to add a pop of color or go for a more neutral look, painting is an easy and affordable way to update your furniture. You can even get creative with stencils or try a ombré effect to add more dimension to your piece.
If you have old dressers or cabinets, another option is to add new hardware or even replace the knobs and handles altogether. This small change can make a big impact and give your furniture a completely new look, without requiring major renovation or expenses.
Upcycling furniture is not only good for the environment, but it can also be a fun and creative activity that allows you to put your own personal touch on your home decor. With a little bit of patience and creativity, the possibilities for upcycling old furniture are truly endless.
2. Gallery Walls
If you're looking for a way to add personality and style to your living space, creating a gallery wall is the perfect solution. Not only is it a great way to showcase your favorite photos and artwork, but it's also an opportunity to get creative with your home decor. Here are some tips for creating a gallery wall that will add that wow factor to any room in your house.
If you prefer a more eclectic look, mix and match frames in different sizes and styles. Not every frame needs to match perfectly, and by combining different styles, you'll add visual interest and character to your wall. Just be sure to avoid going overboard with too many different patterns and colors.
If you want a more streamlined and polished vibe, consider keeping your frames uniform and hung in a grid pattern. This looks particularly stunning with black and white photos or simple artwork. You can even vary the sizes of the frames slightly to add some interest and movement to the grid.
When creating a gallery wall, it's important to choose a theme and color scheme to keep everything looking cohesive. You can create a gallery wall of family photos, travel snapshots, or even artwork that speaks to your personality and style. Just be sure to choose pieces that compliment each other and fit with your overall home decor.
Once you have your frames and artwork selected, it's time to start hanging. It's often helpful to measure and mark your wall first so you know exactly where everything will go. Start with the largest piece in the middle and work your way out, spacing everything evenly as you go. And don't forget to step back and admire your handiwork – a well-designed gallery wall is sure to be a conversation starter with all of your guests.
2a. Creating a Cohesive Look
When it comes to creating a gallery wall, one of the most important considerations is choosing a theme and color scheme to make it look cohesive and polished. Here are some tips to help you get started:
- Consider the overall style of your room. Do you prefer a modern and minimalist look, or a more traditional and cozy vibe? Use this as a starting point for your gallery wall theme.
- Choose a color scheme that complements your existing decor. You can use a color wheel to help you select complementary or analogous colors that work well together.
- Decide on a focal point or anchor piece for your gallery wall, such as a large piece of artwork or a statement photo. This will help guide your theme and color choices.
- Consider using frames of the same color or material to create a cohesive look, or mix and match frames in different sizes and styles for a more eclectic vibe.
By following these tips, you can create a gallery wall that not only showcases your favorite photos and artwork, but also ties your room together for a polished and put-together look.
2b. Hanging the Perfect Gallery Wall
Are you ready to hang the perfect gallery wall? Follow these step-by-step instructions to ensure your frames are perfectly arranged. First, gather your frames and determine the layout you want to create. Then, measure the distance between the top of each frame and the hanging hardware. Use these measurements to mark the wall with a pencil where each frame should be hung.
Next, determine the height at which you want to hang your frames. A general rule of thumb is to hang artwork at eye level, but this can vary depending on the height of your ceiling and the size of your frames. Use a tape measure to mark the desired height on the wall with a pencil.
Once you have your marks on the wall, it's time to hang your frames. Starting with the center frame, line up the top of the frame with the mark on the wall. Use a level to ensure the frame is straight, and then make a small mark with a pencil where the hanging hardware hits the wall.
Next, use a nail or picture hanger to hang the frame on the wall, using the mark you made as a guide. Once the frame is securely hung, move on to the next frame, using the center frame as a reference for spacing and height.
As you hang each frame, step back and take a look at the overall layout. Make adjustments as necessary to ensure the frames are evenly spaced and at the desired height. If you're having trouble getting the frames to hang straight, try using a laser level to ensure the marks on the wall are perfectly aligned.
With these simple steps, you can create a perfectly arranged gallery wall that will showcase your favorite photos and artwork. So gather your frames and get started today!
3. DIY Textile Projects
If you're looking for a way to personalize your living space, DIY textile projects are a great place to start. From pillows to curtains to quilts, there are endless ways to add a cozy touch to your home with handmade textiles.
First, if you're new to sewing, it's important to learn the basics. There are many online resources available to help you learn different stitches and techniques, even if you don't have a sewing machine. If sewing isn't your thing, don't worry – there are plenty of no-sew projects that you can tackle as well.
Once you've brushed up on your sewing skills or decided on a no-sew project, it's time to get creative. Pillows are a great place to start – you can easily change the look of a room by swapping out the pillows on your couch or bed. Curtains are another great textile project that can instantly update a room. Don't be afraid to play with patterns and textures to create a cozy and inviting space.
If you're feeling ambitious, a quilt is a great way to add a handmade touch to your home. Quilts can be made in a variety of styles and sizes, so it's easy to find a project that fits your skill level and style. If you're not ready to take on a full quilt, consider a smaller project like a table runner or wall hanging.
Overall, DIY textile projects are a fun and rewarding way to add a personal touch to your living space. Whether you're a seasoned sewer or just starting out, there are endless possibilities for creating cozy and stylish textiles for your home.


